
Recent Work
&
Work In Progress
This page will be updated as new work arrives. On this page you will see before and after pictures of bowling balls in need of cleaning, resurfacing or oil extraction. These photos and videos will be great examples of what you could expect if you wanted Nick's Pro Shop to work on your bowling balls. If you like what you see and want your bowling ball to be like new, click on the "Contact Us" link and fill out the form.
The series of videos below shows the entire process of laying out a bowling ball, drilling it and installing the interchangeable thumb system.
The series of videos below shows the entire process of laying out a bowling ball, drilling it and installing the interchangeable thumb system.
Laying Out A Ball
Dual Angle Drilling Technique
Drilling Thumb Hole
Drilling Middle Finger
Drilling Ring Finger
Installing Inserts & Interchangeable Thumb System
Static Weight Check
Using the Determinator
Determining Balance Hole Location
Drilling Balance Hole;
Finding Spin Time
Span Terminology
Plugging balls and Lane Damage:
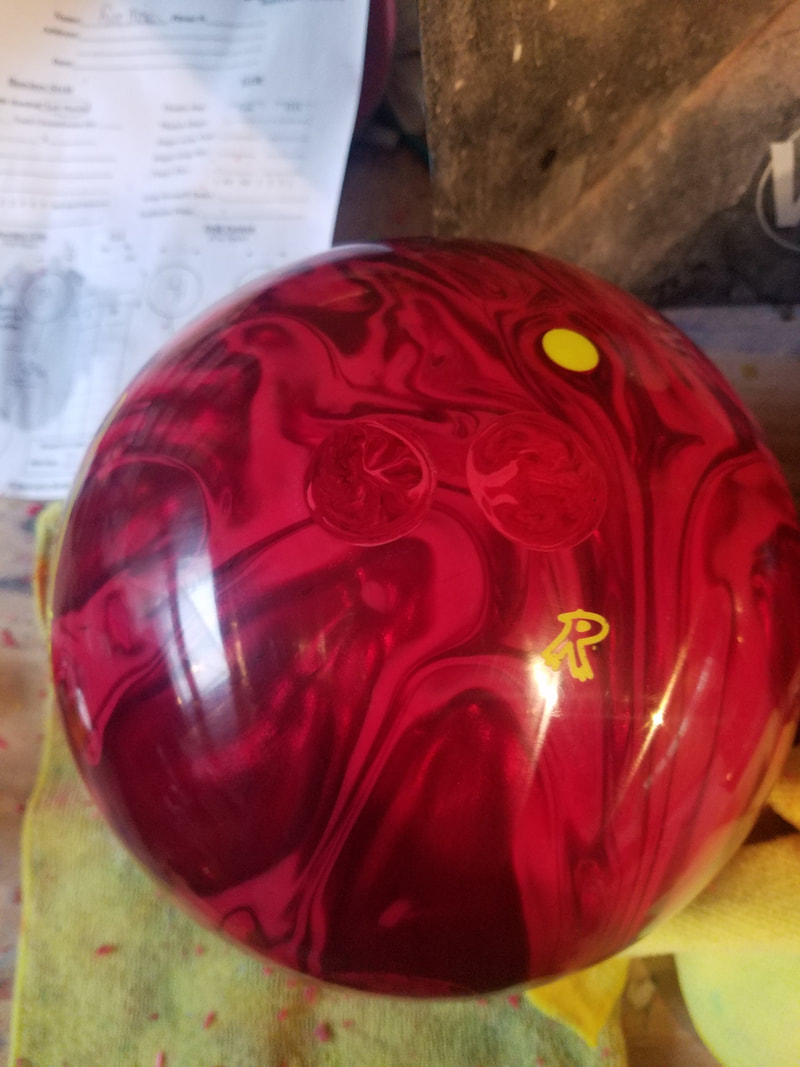
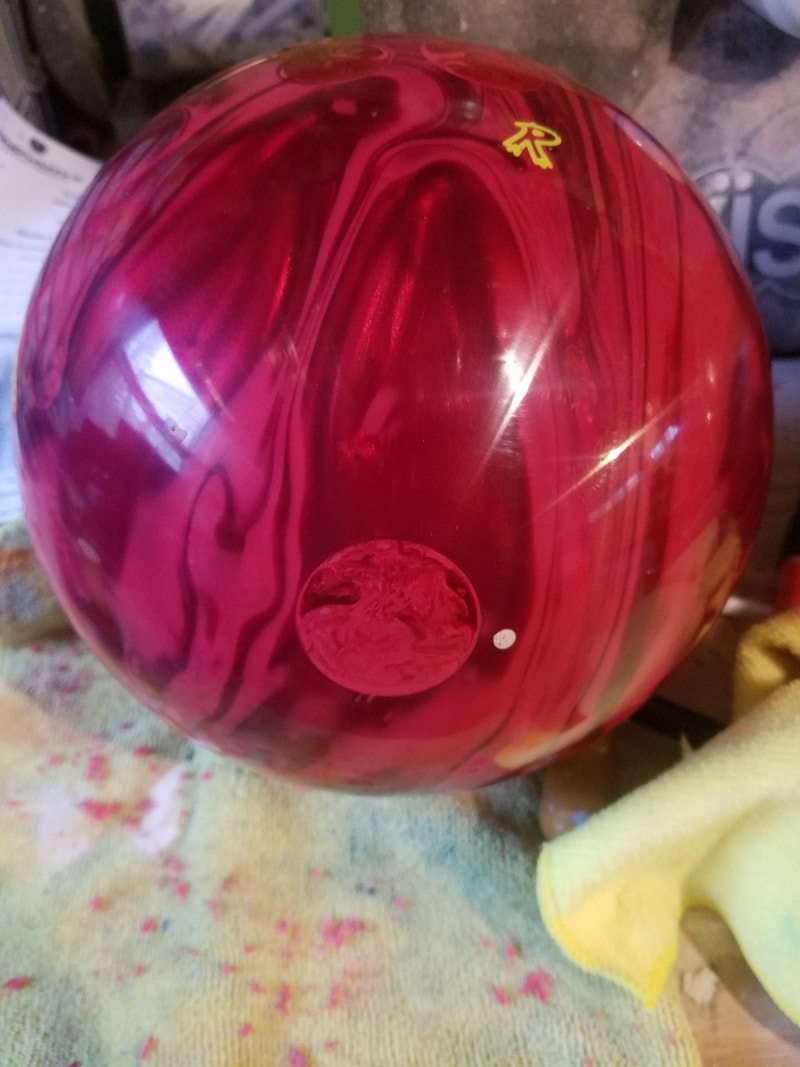
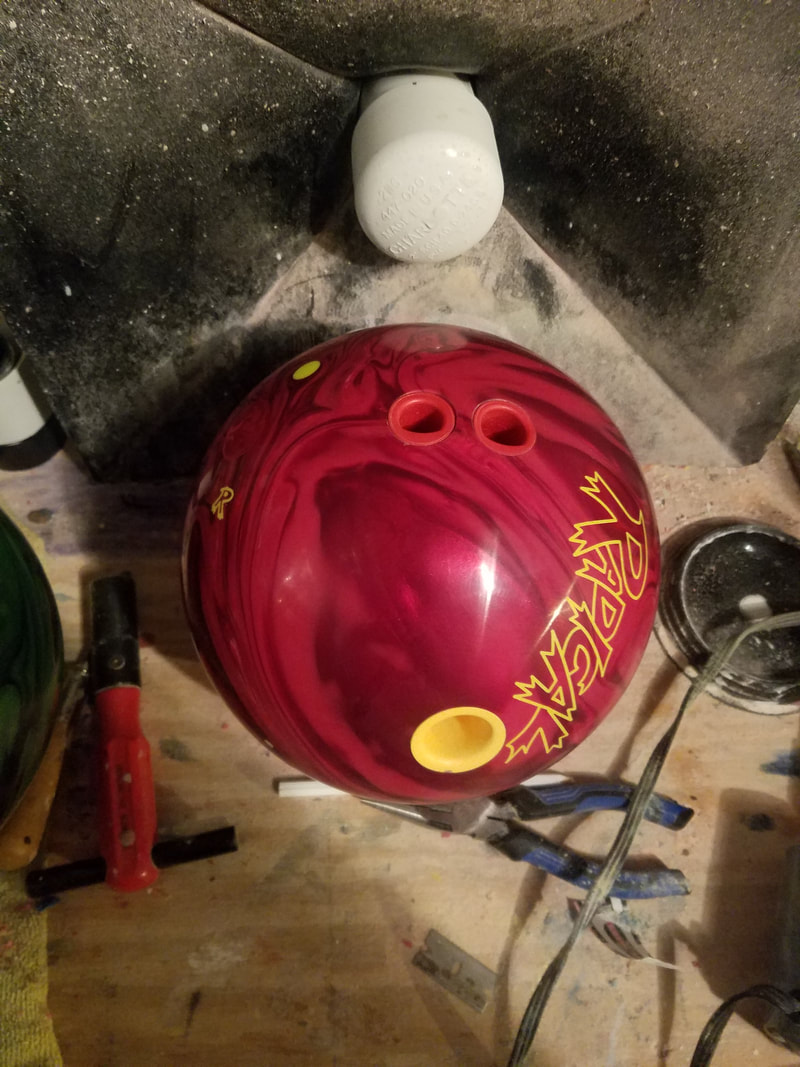
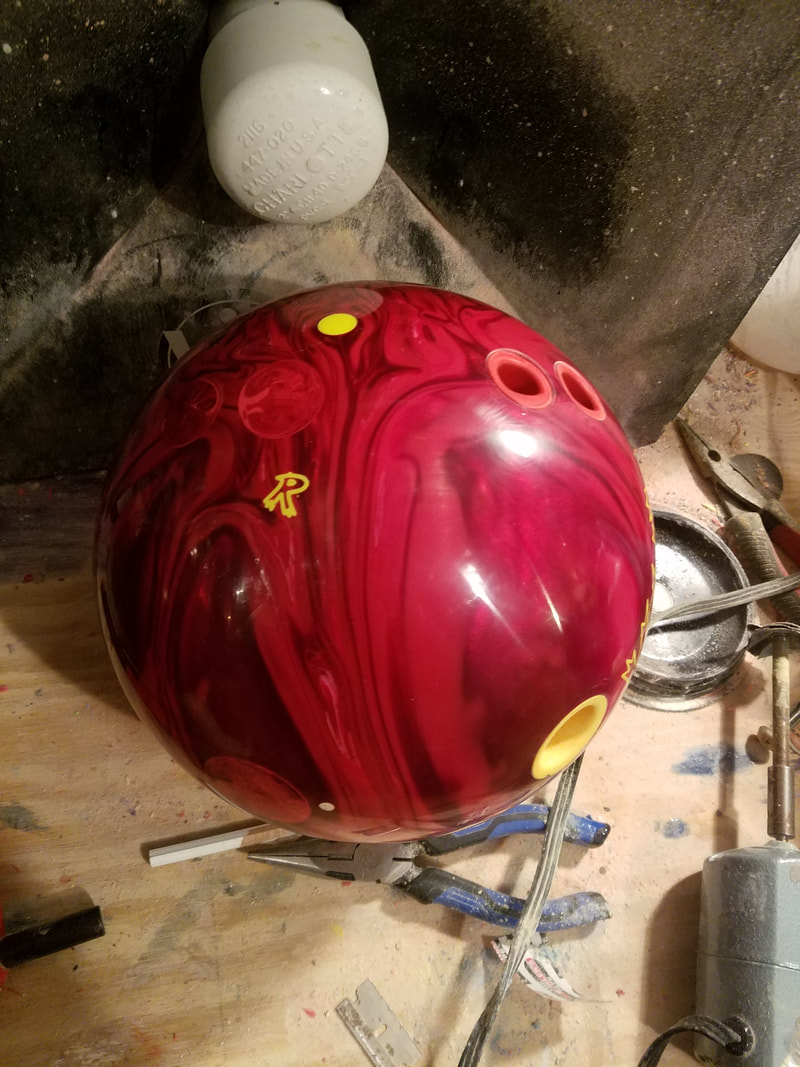
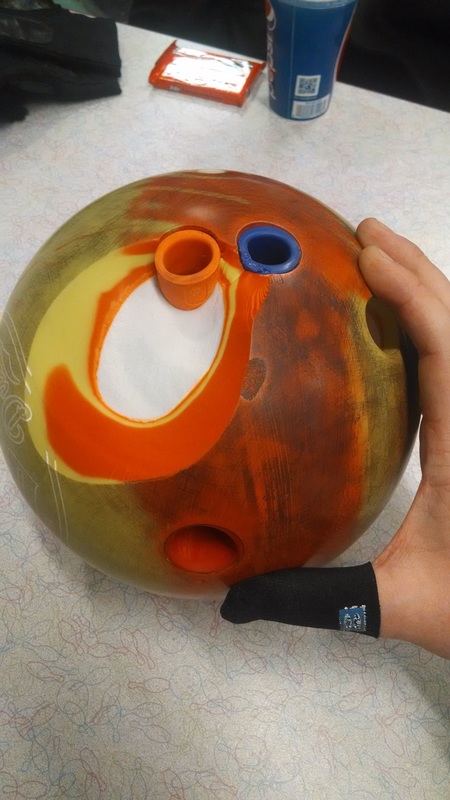
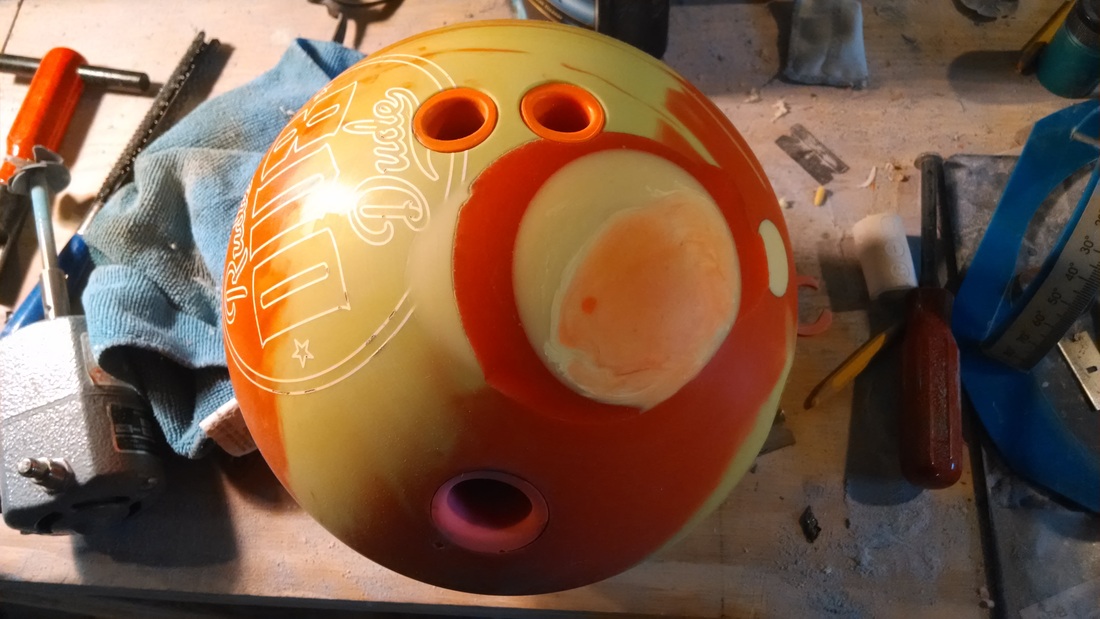
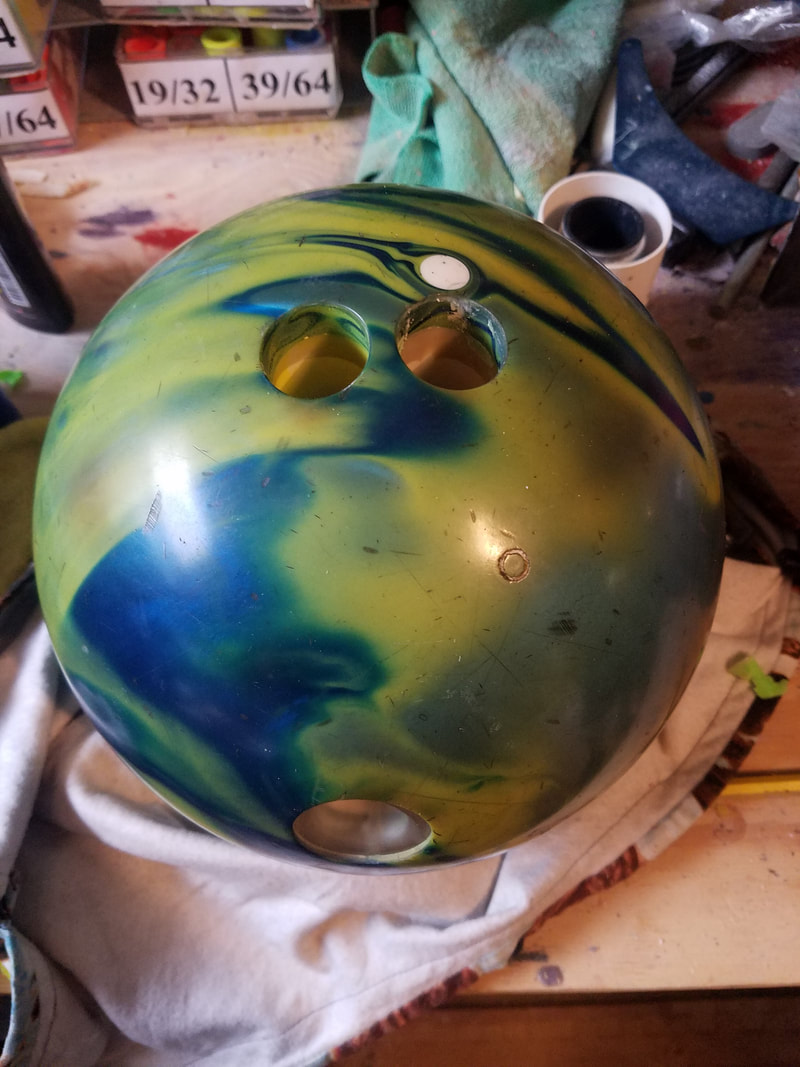
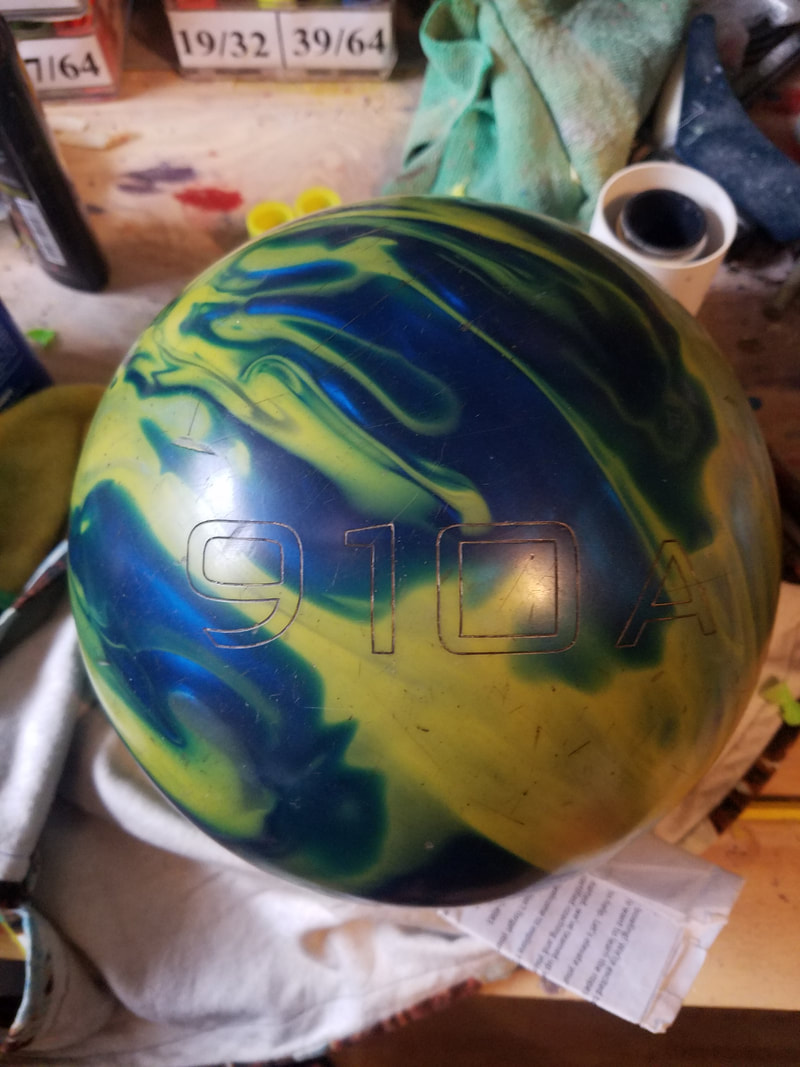
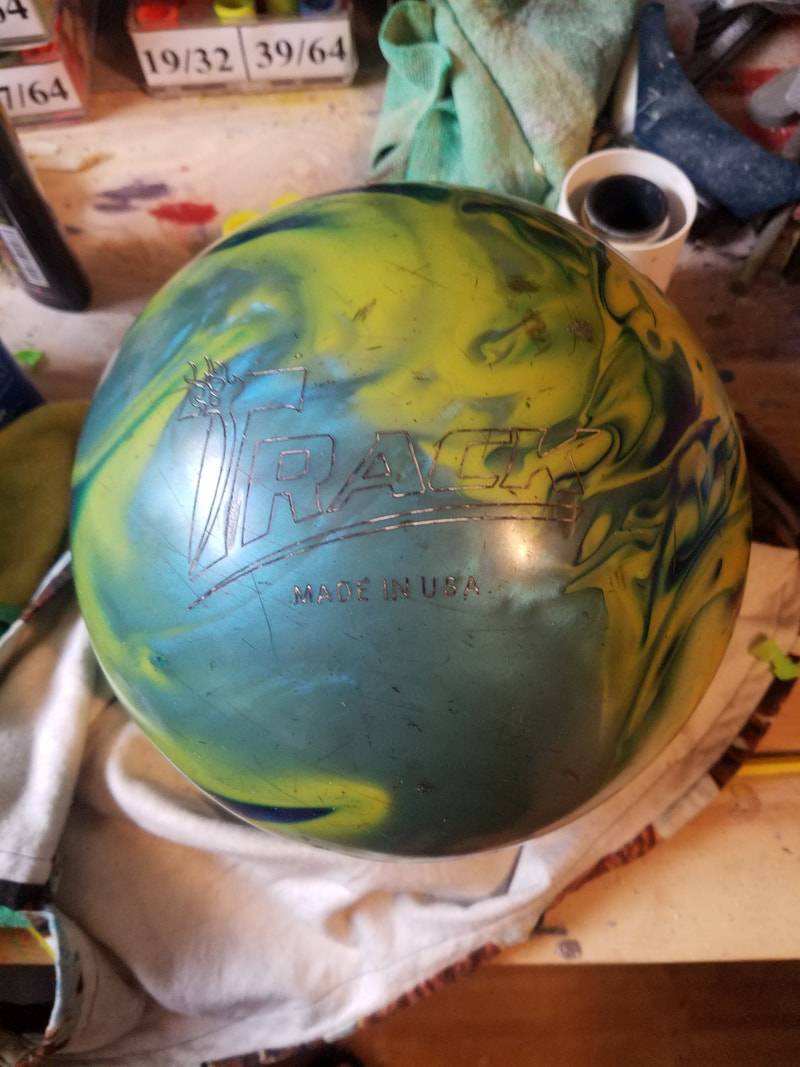
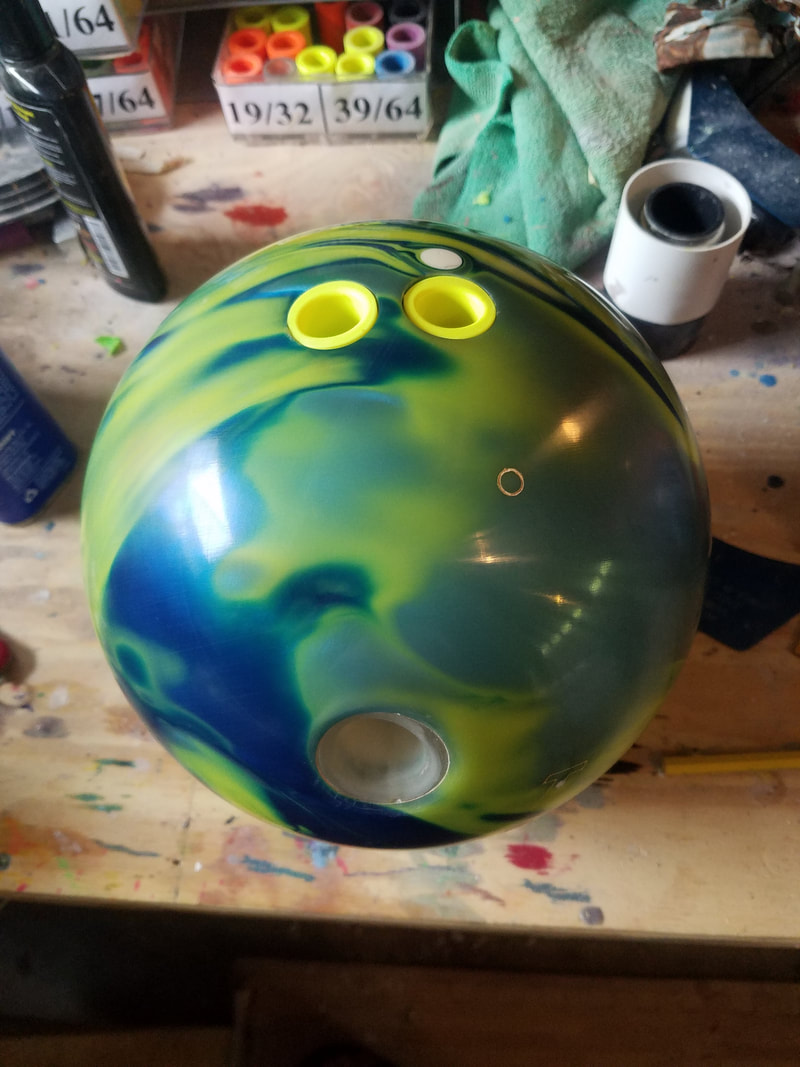
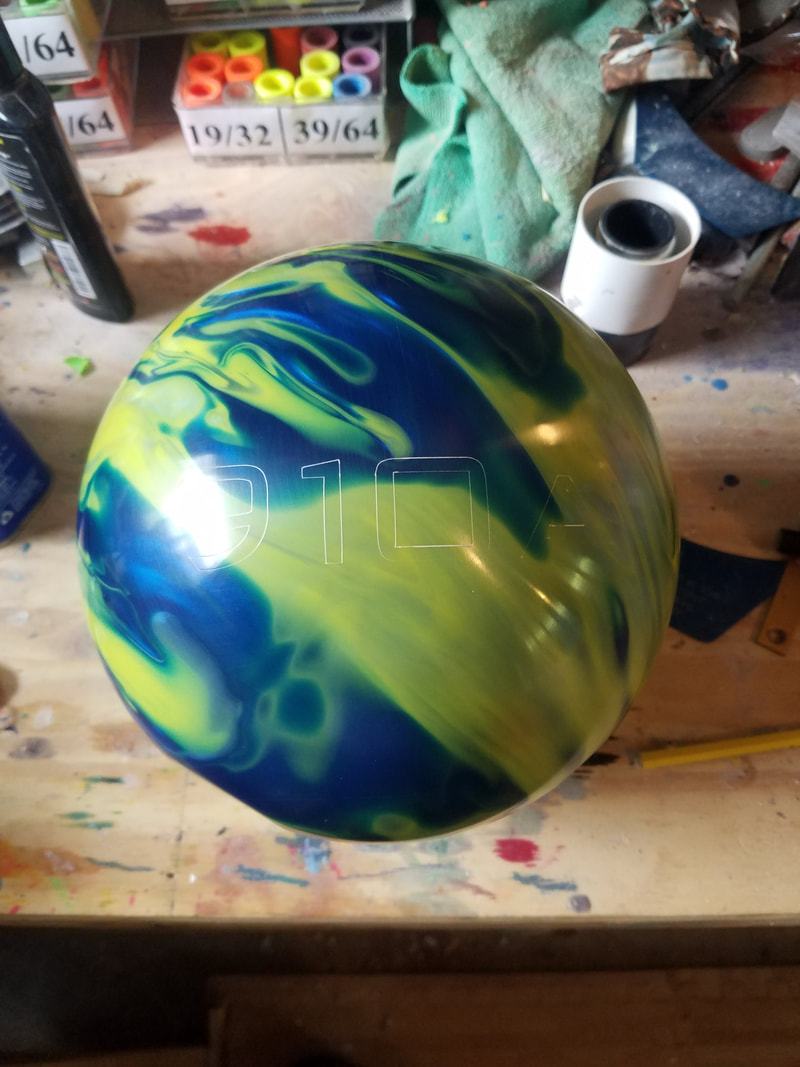
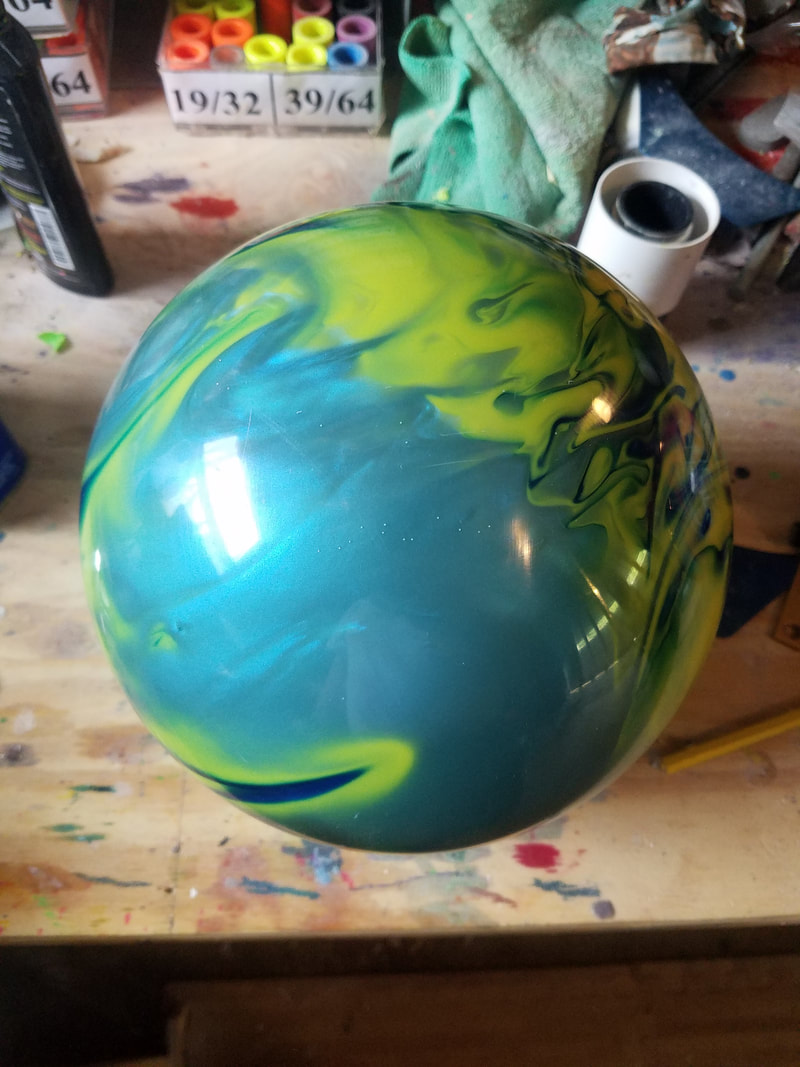
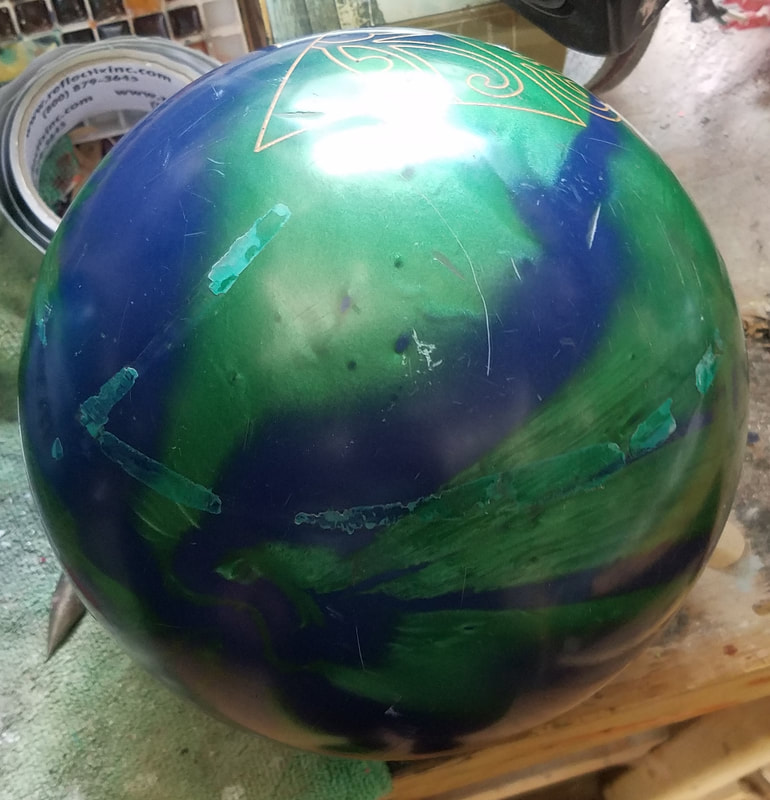
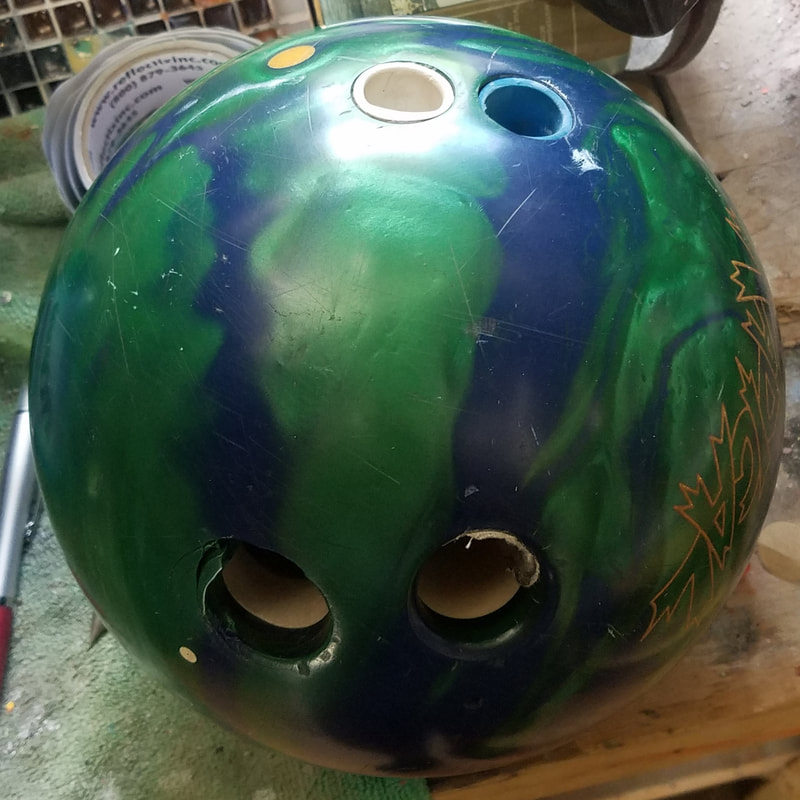
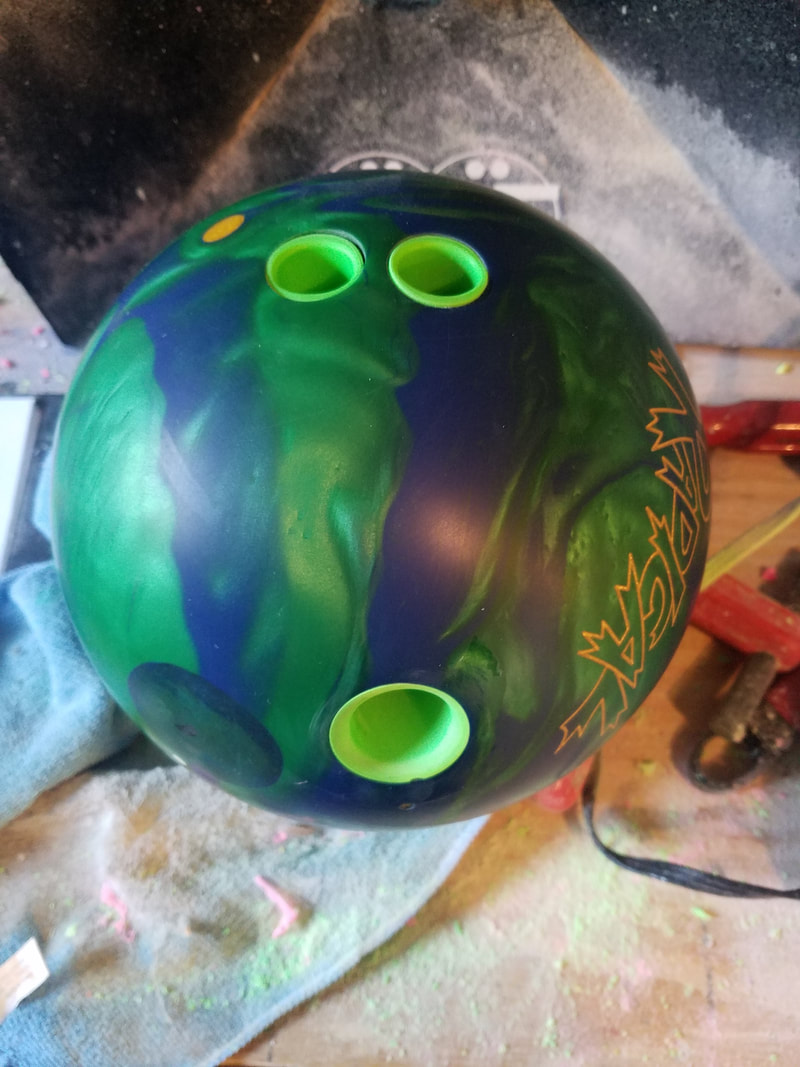
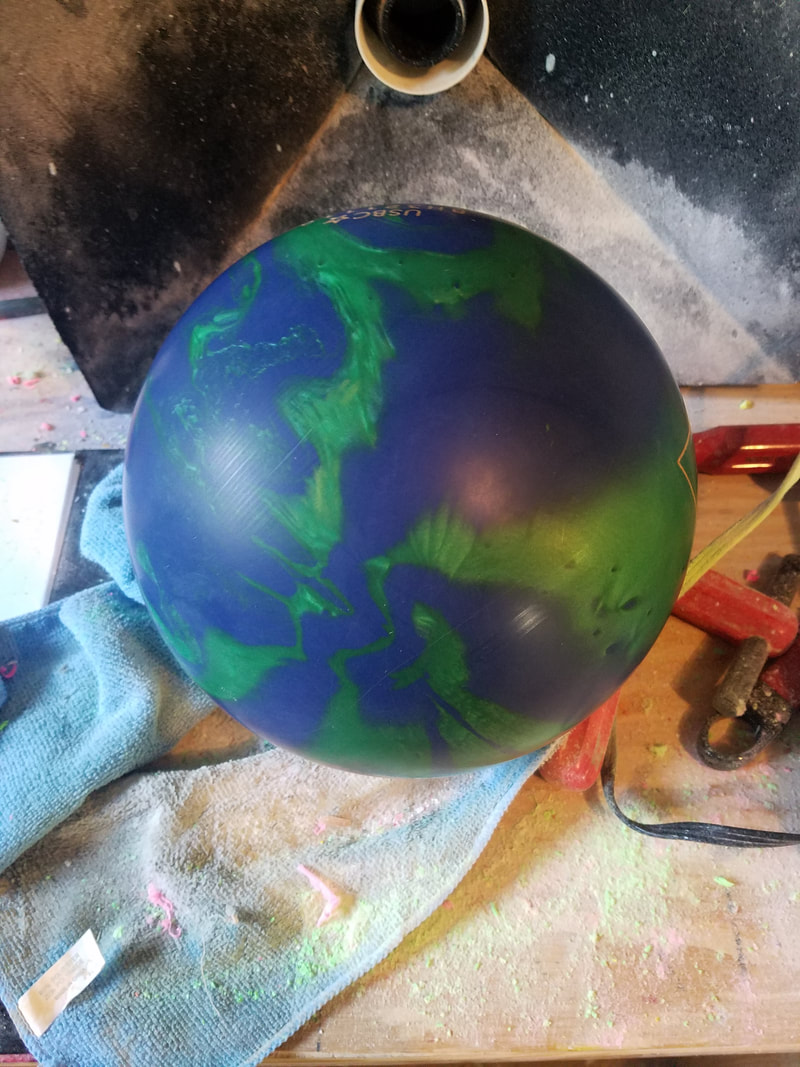
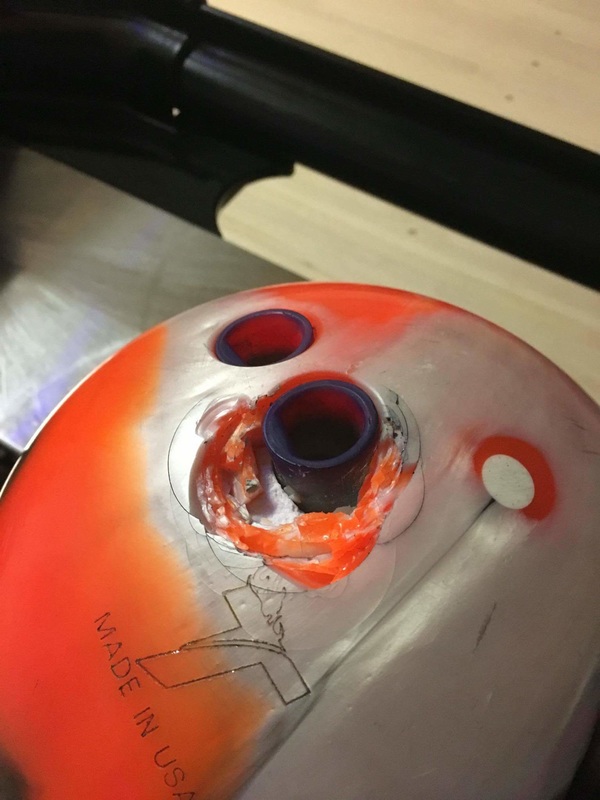
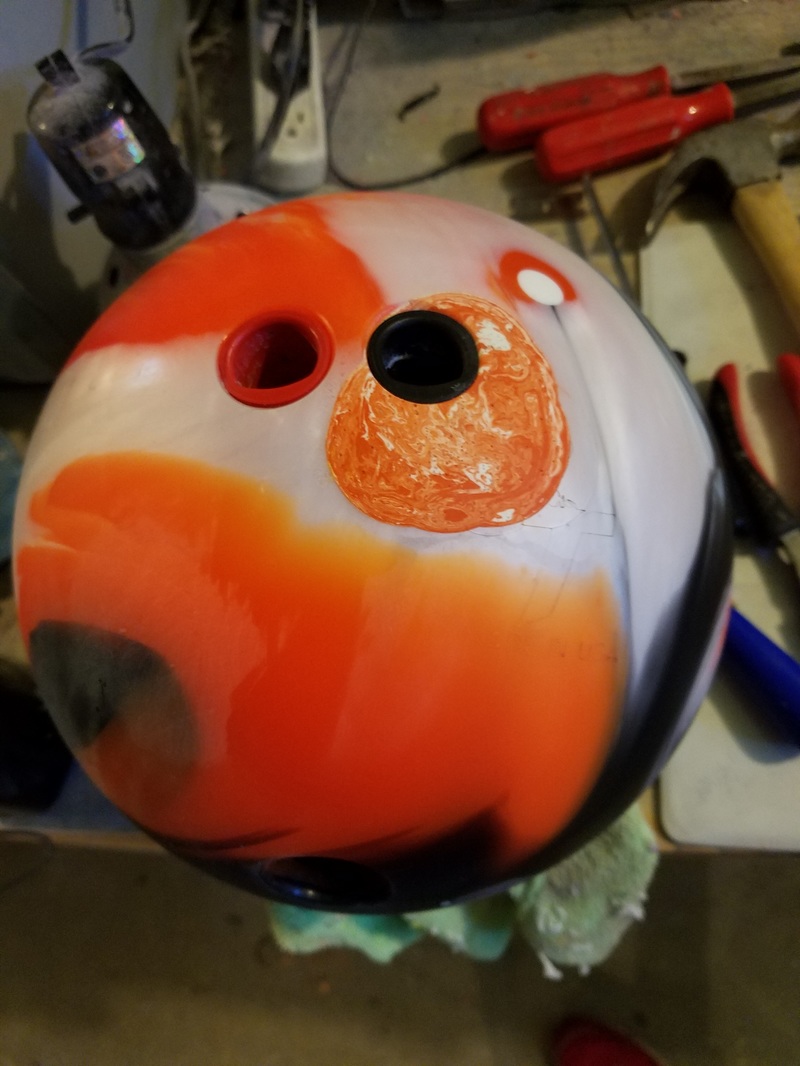
Plugging bowling balls is one of the most fun and rewarding challenges of operating a pro shop. The goal is to match the colors as best as possible in an attempt to make the ball look as new as possible. The first two pictures from the left are the original holes that have been plugged. The two images on the right are the final drilled product for the new customer. A plug and redrill service comes with a FREE resurface of the ball. Prices start at $20 for one hole and increase by $10 for every additional hole that needs to be plugged.
This is probably the most extreme case of lane damage I have ever seen. On top of this, the ball has been dirtied by pits that weren't getting cleaned regularly. Belt marks and oil had made the cover look pretty disgusting. So one day, this bowler was practicing, and his ball came back up the ball return looking like this. The proprietor of the center claimed that it was a defective ball and not lane damage. Needless to say, this customer of mine was pretty disappointed that the center wasn't willing to help out at all. I stepped in and said I could try to fix it. Using Vise's revolutionary Hybrid Rapid plug, I was able to successfully fill in the chunk that was taken out and match the colors pretty well. The ball is now in great working condition and another happy customer leaves Nick's Pro Shop with a fully repaired bowling ball.
Check out what a revivor oven session and a resurface can do. This combination service can take away years of wear and tear to make it like new again.
Sometimes, I see interesting attempts at trying to solve a problem. Deep belt marks can be a pain. One shop tried to plug the belt marks, leaving a green line across the circumference of the ball. Using the HAUS machine, any marks that were there before are gone!
Lane damage can be rough! After multiple times of landing on the finger hole, this ball has experienced some major cracking and chipping away. After a complete plug and redrill, it's good as new and ready to go!

One of the most fun things about this job is you never know what someone is going to ask you to do for them to make bowling more enjoyable. I was given this: An AMForce, a ball which was released in 1997 and was still going strong for this particular gentleman. However, it had lost it's hook. He wanted it to hook and look like new. The before pictures show scratches throughout, a sign of wear and tear over the years. Using the Revivor Oven and the HAUS resurfacing machine, I was able to bring this ball back to life. What could you do with that old ball that you just can't figure out why it isn't performing like it did out of the box? For only $50, this bowler has a ball that will hook like the day he bought it with the look of a new ball as well.
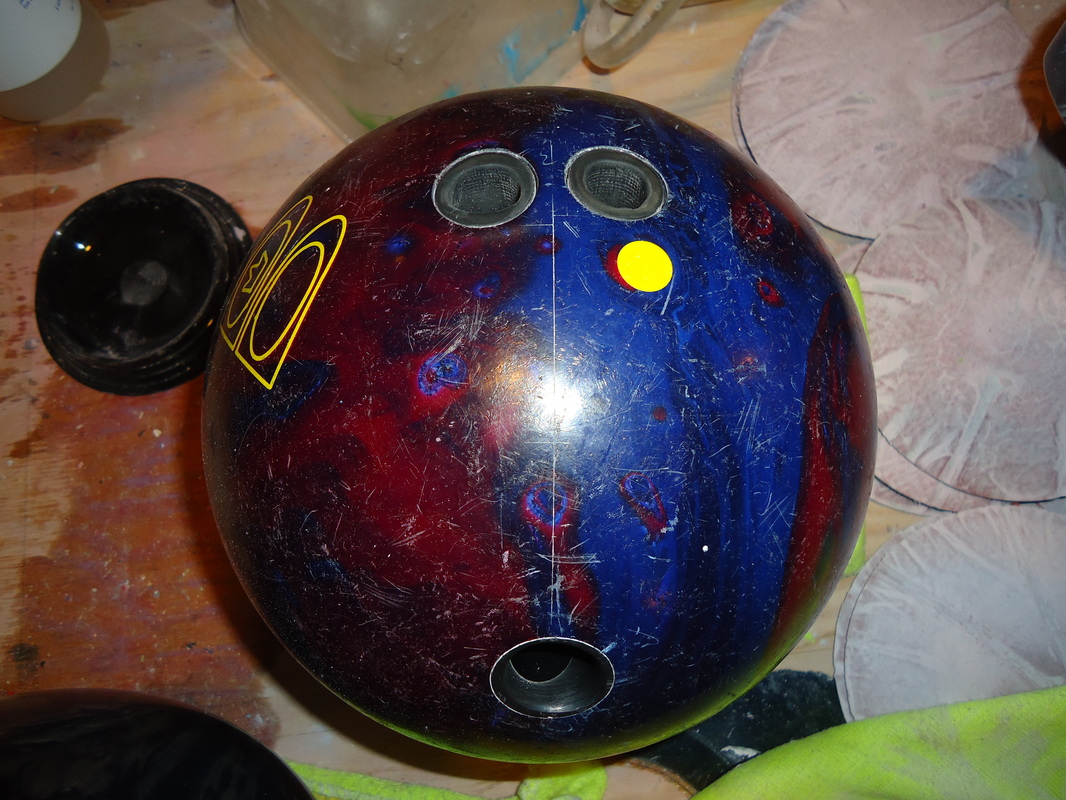
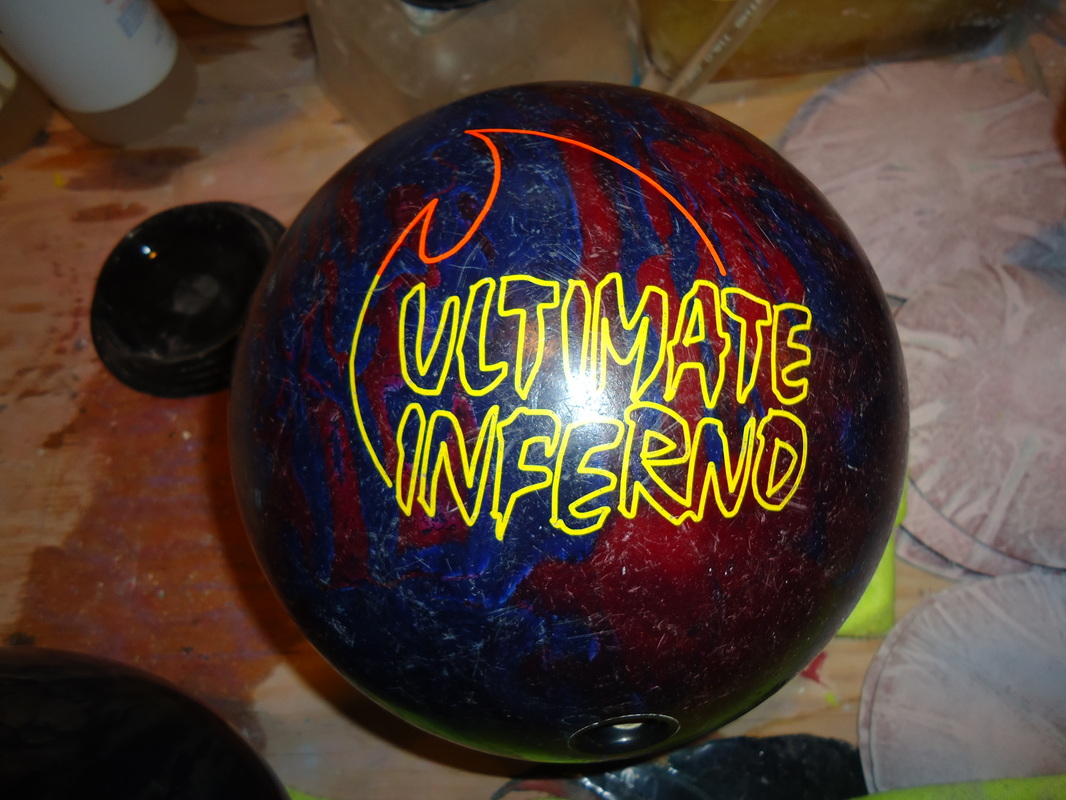
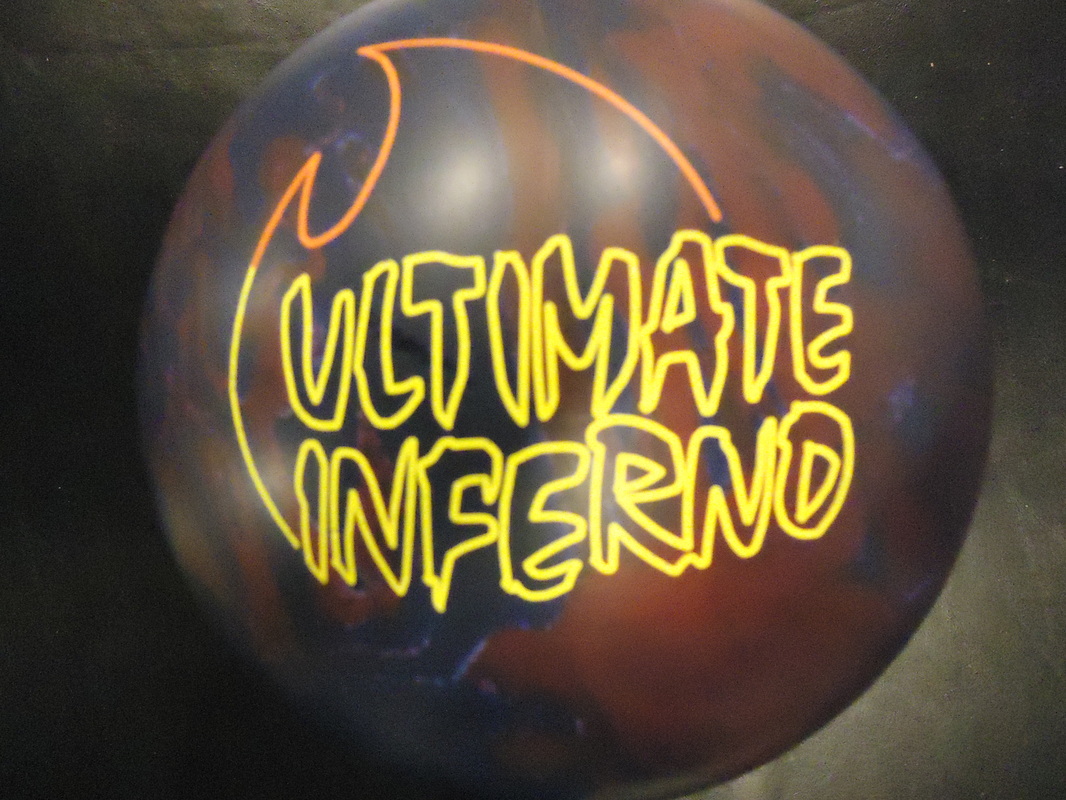
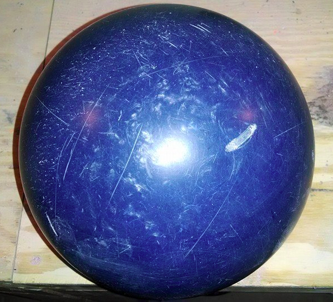
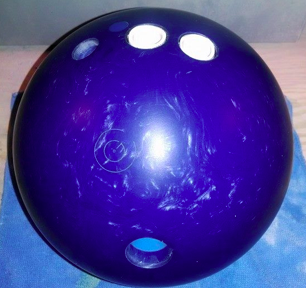
Above, we see a Brunswick Ultimate Inferno. The middle photo is the reverse side of the same ball. The entire surface is covered with scratches. The picture on the far right shows the after effect once it had been thoroughly resurfaced and had the oil extracted in the reviver oven. It looks like it's brand new!
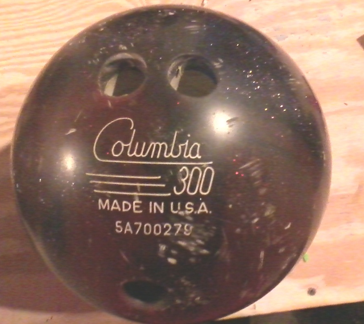
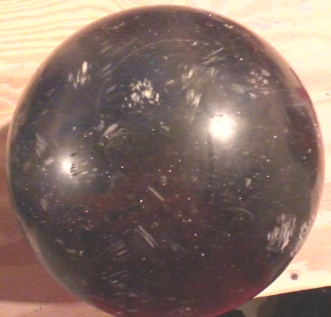
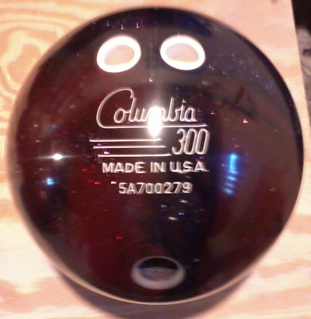
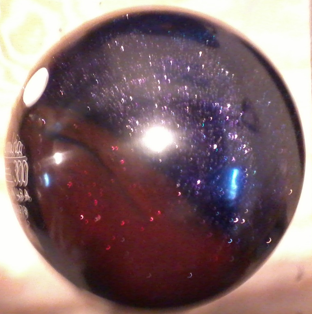
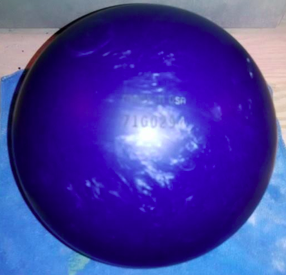
Here we have a Columbia 300 White Dot, which may or may not have been rolled in the street, you be the judge. The nicks and cuts span the entire circumference of the ball as you can see in the pictures above. This ball was for a lefty who got the ball from a righty, so the thumb also needed to be plugged and re-drilled. The ball has been put through the New Generation Haus machine, which thoroughly resurfaces the ball with three discs coated with diamond dust. The ball is then gradually sanded to 240 grit, 360 grit, 500 grit, 1000 grit, 1500 grit, 2000 grit, 3000 grit, 4000 grit and then finally polished to a high luster. The pictures speak for themselves. It doesn't even look like the same ball and the customer has a ball that looks brand new. Instead of having to buy a new ball, have it resurfaced to bring back that "out of the box" look.
